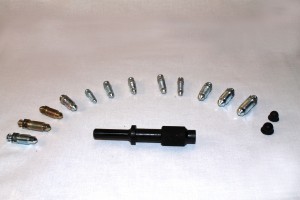
The bleeder buster will:
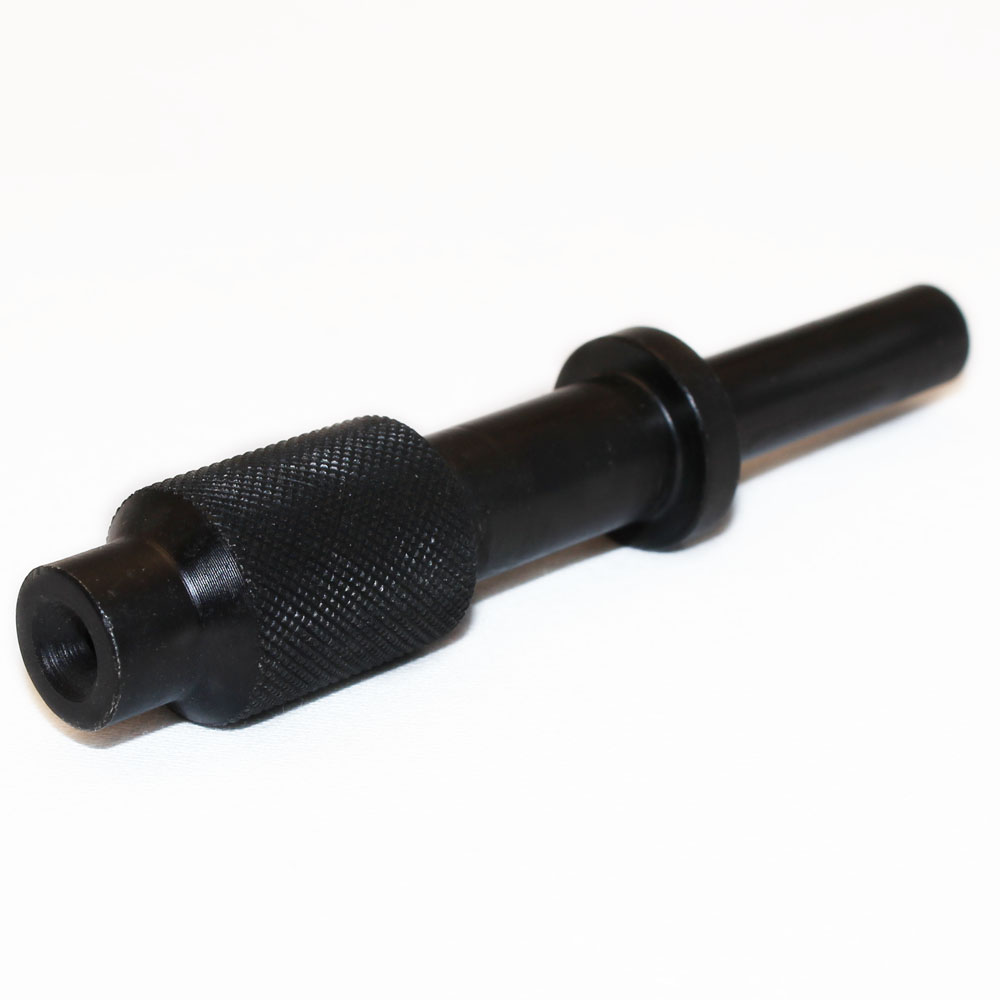
Installing the wire plug into the bleed screw prevents the walls of the bleed screw from collapsing when removing. Applying impact to the bleed screw for about three to four seconds will compress and work harden the bleeder screw and “shock” the threads free.
Note: The “compressed” bleed screw will need to be replaced after removal.
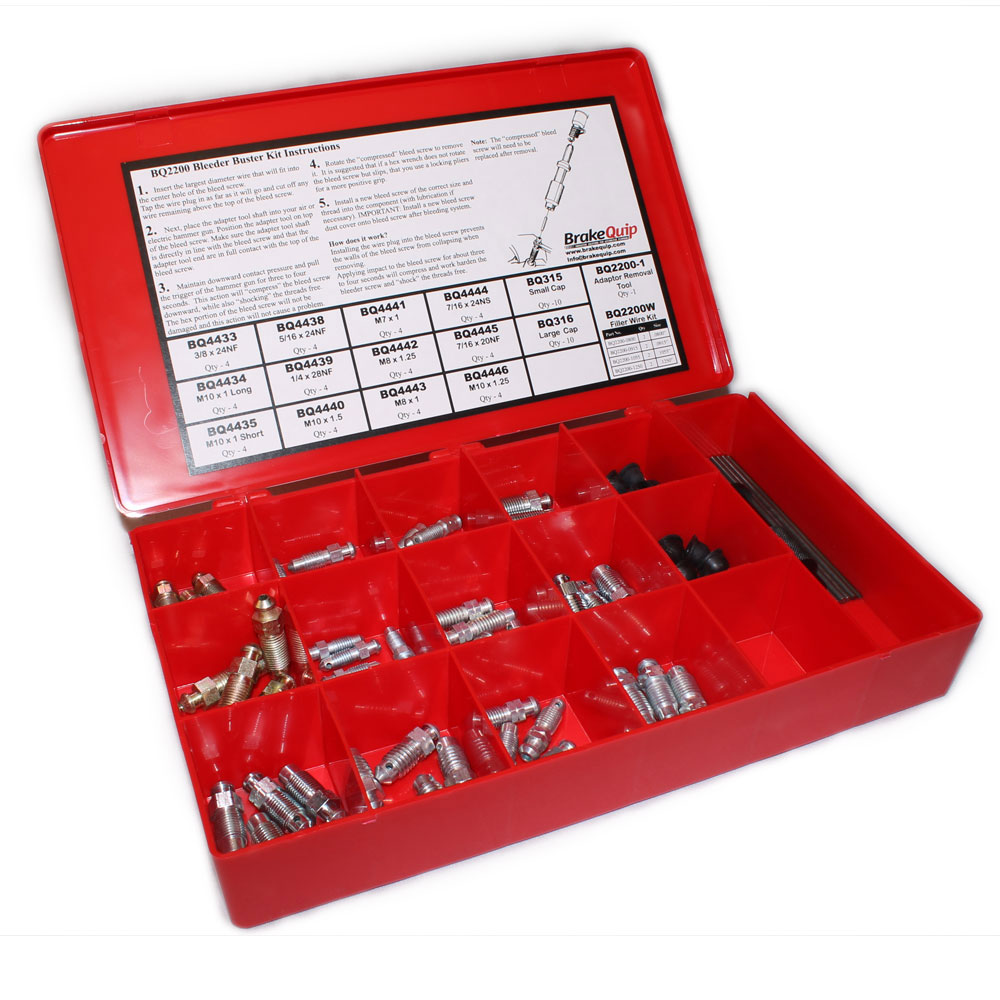
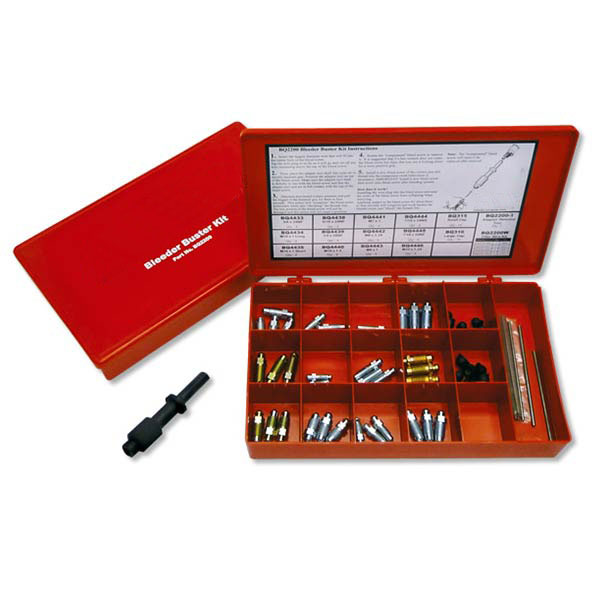
| Part No. | Content Description | QTY |
|---|---|---|
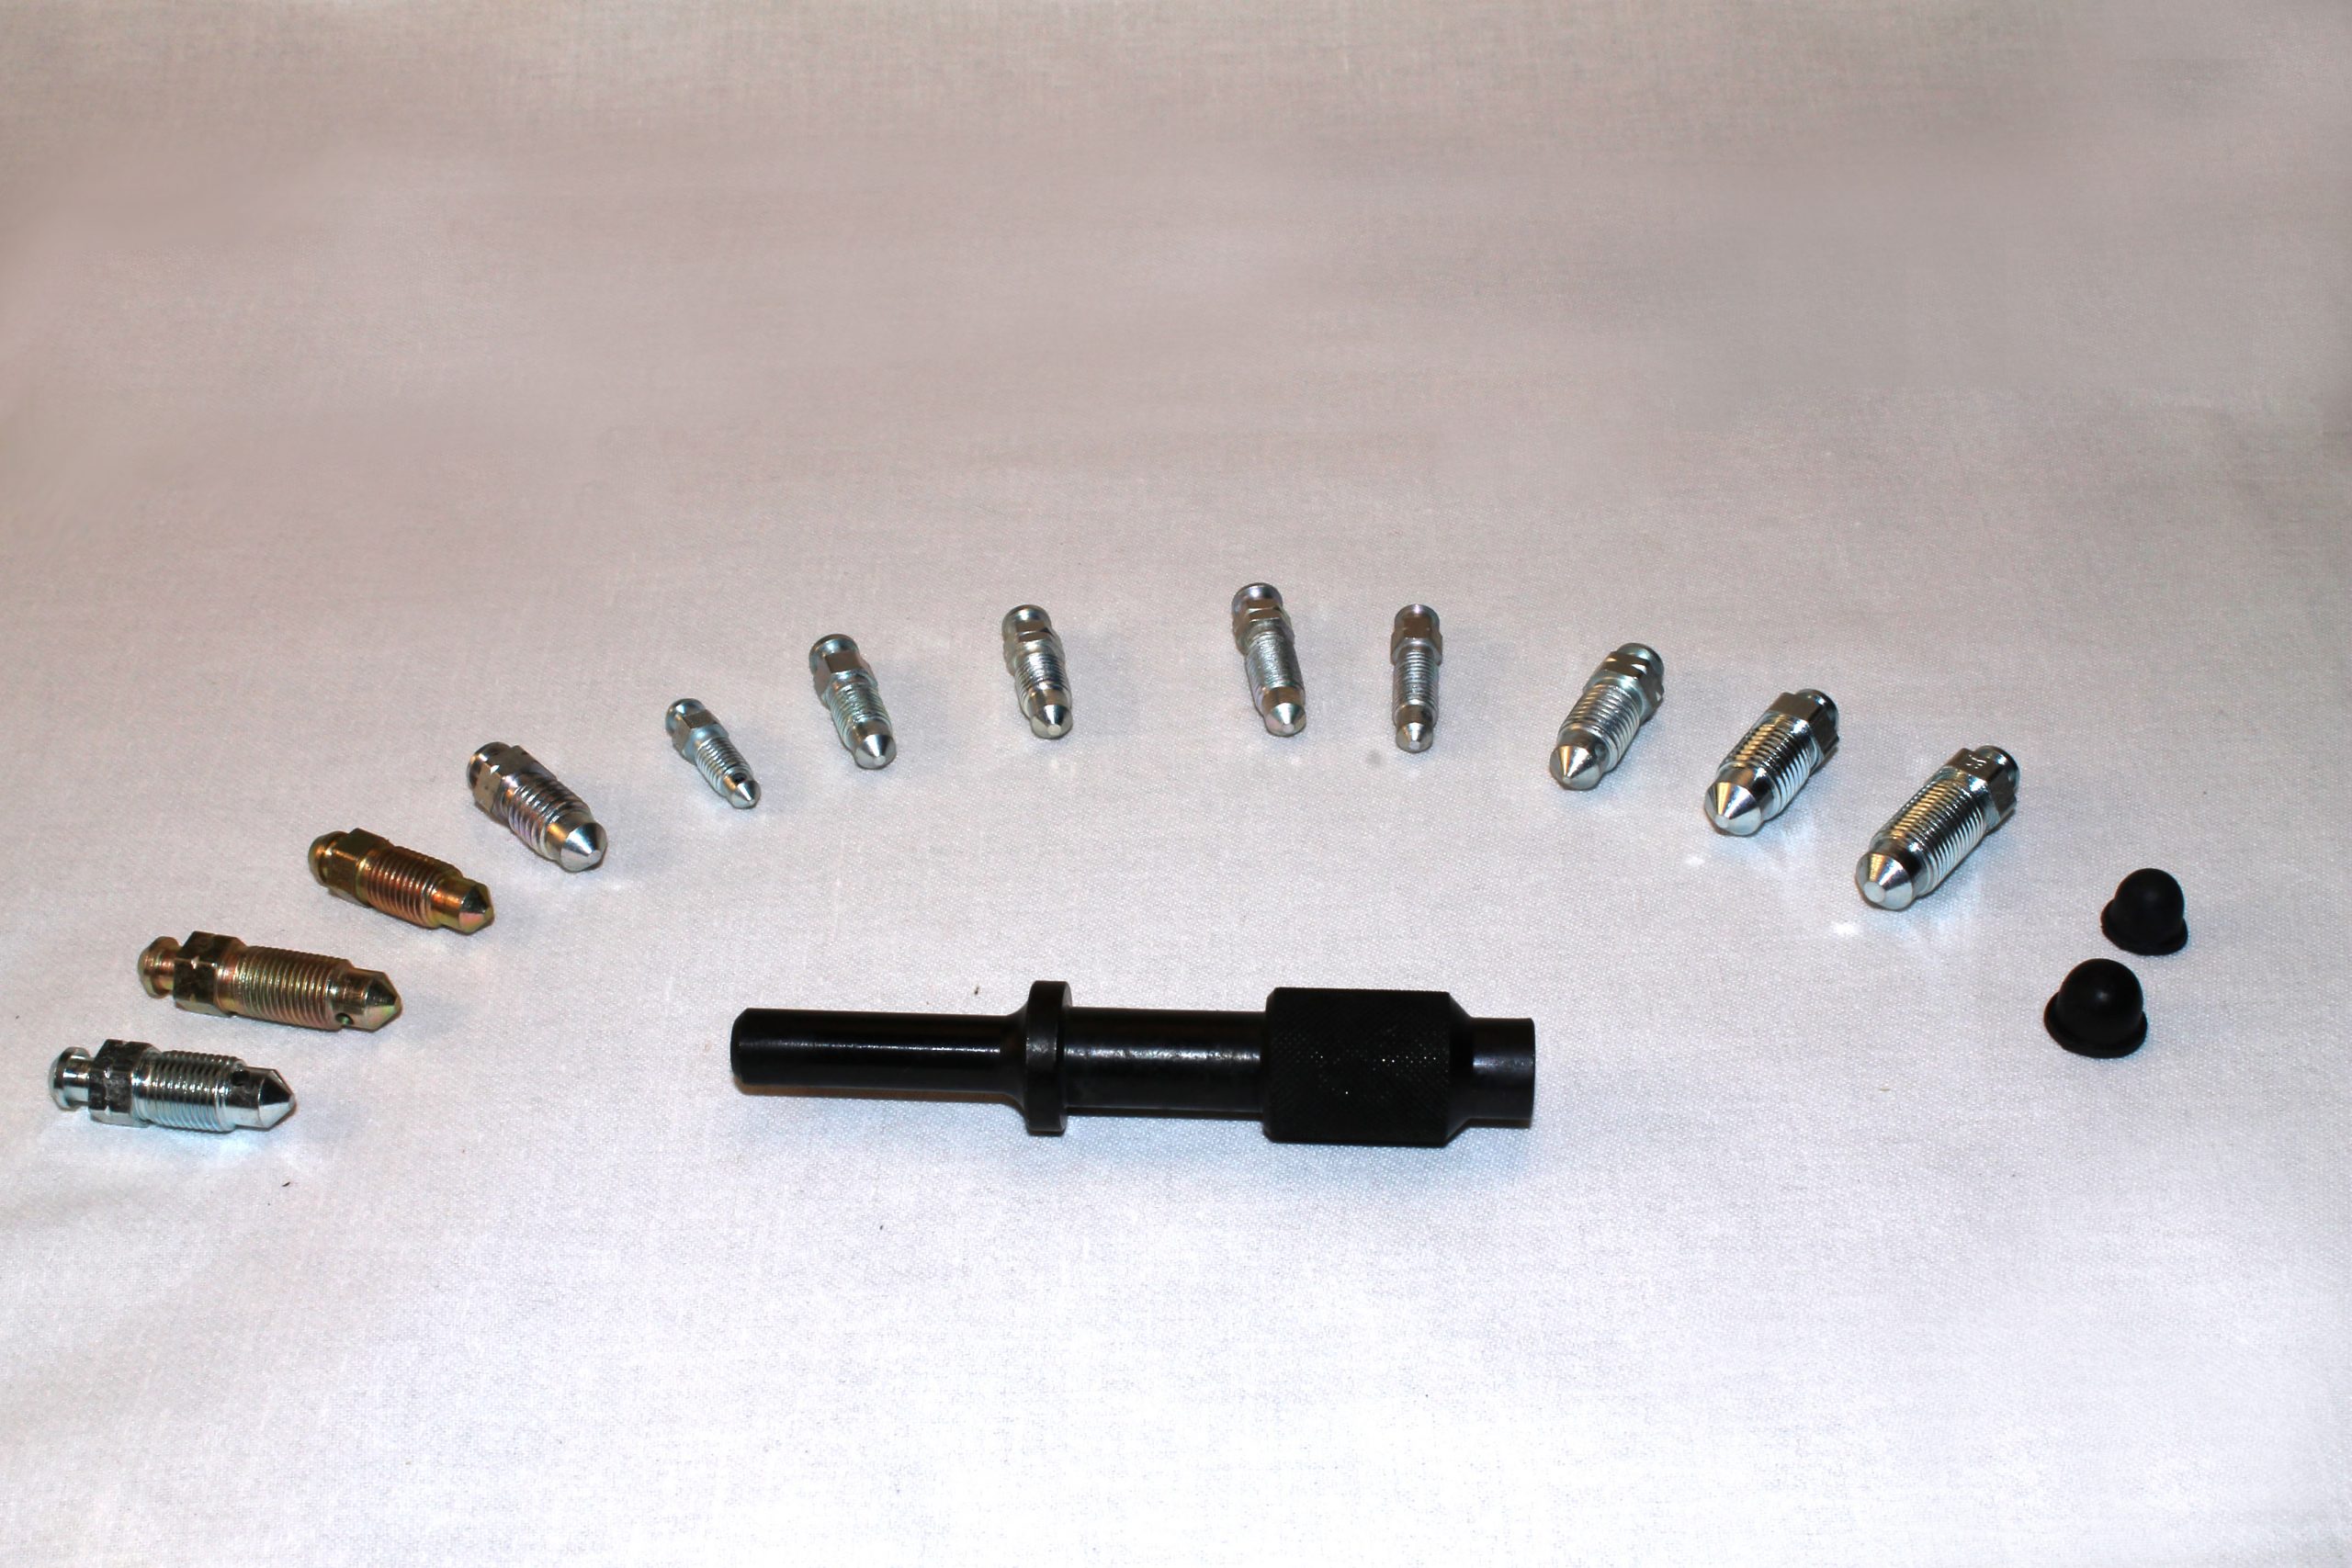
| BQ2200-1 | Bleeder Removal Tool | 1 |
| BQ2200W | Bleeder Filler Wire | 1 |
| BQ315 | Bleeder Cap Small | 10 |
| BQ316 | Bleeder Cap Large | 10 |
| BQ4433 | Bleeder Screw 3/8-24 UNF | 4 |
| BQ4434 | Bleeder Screw M10 x 1.0 Long | 4 |
| BQ4435 | Bleeder Screw M10 x 1.0 Short | 4 |
| BQ4438 | Bleeder Screw 5/16-24 UNF | 4 |
| BQ4439 | Bleeder Screw 1/4-28 UNF | 4 |
| BQ4440 | Bleeder Screw M10 x 1.5 | 4 |
| BQ4441 | Bleeder Screw M7 x 1 | 4 |
| BQ4442 | Bleeder Screw M8 x 1.25 | 4 |
| BQ4443 | Bleeder Screw M8 x 1 | 4 |
| BQ4444 | Bleeder Screw 7/16-24 UNS | 4 |
| BQ4445 | Bleeder Screw 7/16-20 UNF | 4 |
| BQ4446 | Bleeder Screw M10 x 1.25 | 4 |